
Imagine coming home on a chilly evening from your porch, blooming with lush green fronds that brushed your shoulder as you walked by.
Now the air’s crisp, your windows are foggy, and you touch the leaves, they’re cold, dry, lifeless. That sinking feeling hits: is it dying?
That’s exactly how thousands of plant lovers feel when winter arrives and they haven’t prepared for how to overwinter Boston ferns indoors.
But here’s the good news: you can save it. With just a few steps, your fern can not only survive winter but thrive and come back fuller than ever.
So grab a warm drink, and let’s dive into this beginner-friendly guide that gives an idea of how to overwinter Boston ferns indoors.
Understanding Boston Ferns

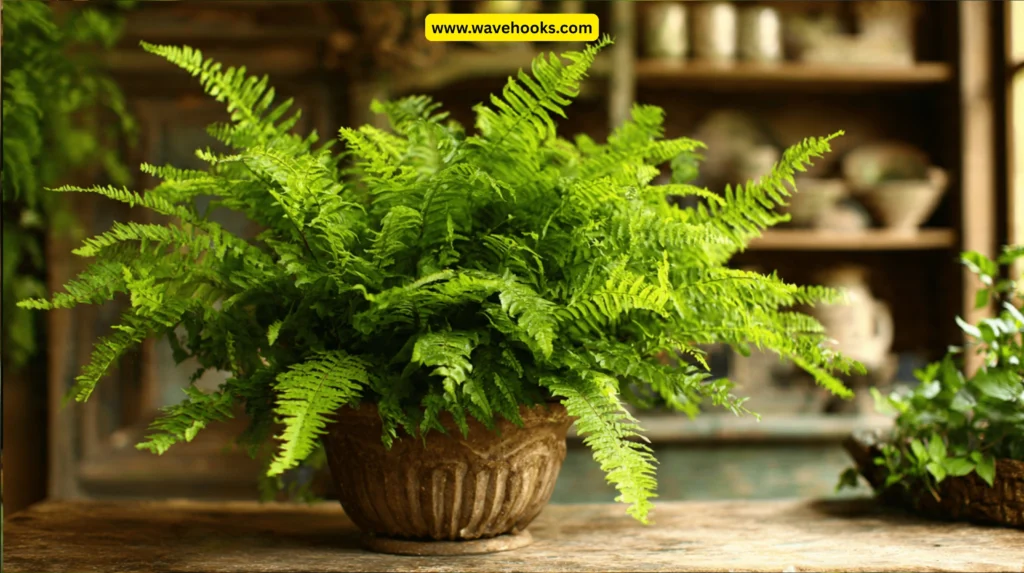
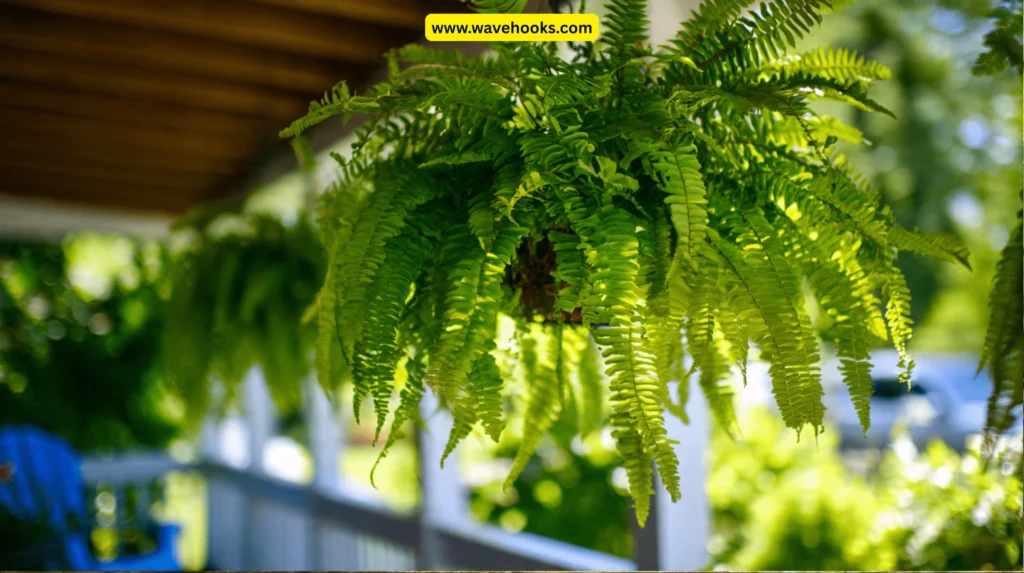
Boston fern is known as Nephrolepis exaltata Bostoniensis, originated in humid and shaded forests. It is usually seen in patios and hanging baskets in summer.
This fern loves gentle light and moisture that winter doesn’t provide. The ideal winter day temperatures are around 75 °F (24 °C) and not below 55 °F (13 °C).
During summer, they absorb light from outdoors and gracefully swing in the breeze. But when the temperature drops, they begin to stress.
That’s why understanding how to overwinter Boston ferns indoors is essential. It’s the bridge between lush summer growth and vibrant spring revival.
Suggested Read: 24 Best Indoor Plants That Thrive In Winter Easily At Home!
Why Overwinter Boston Ferns Indoors?
Don’t think of overwintering as extra work. It’s just Fern’s spa retreat. Overwintering your Boston fern indoors means longevity, beauty, and worth, not seasonal loss.
Plants aren’t cheap. Each spring, thousands of plant lovers toss out ferns and buy new ones. But you could save your fern, your wallet with just a little effort?
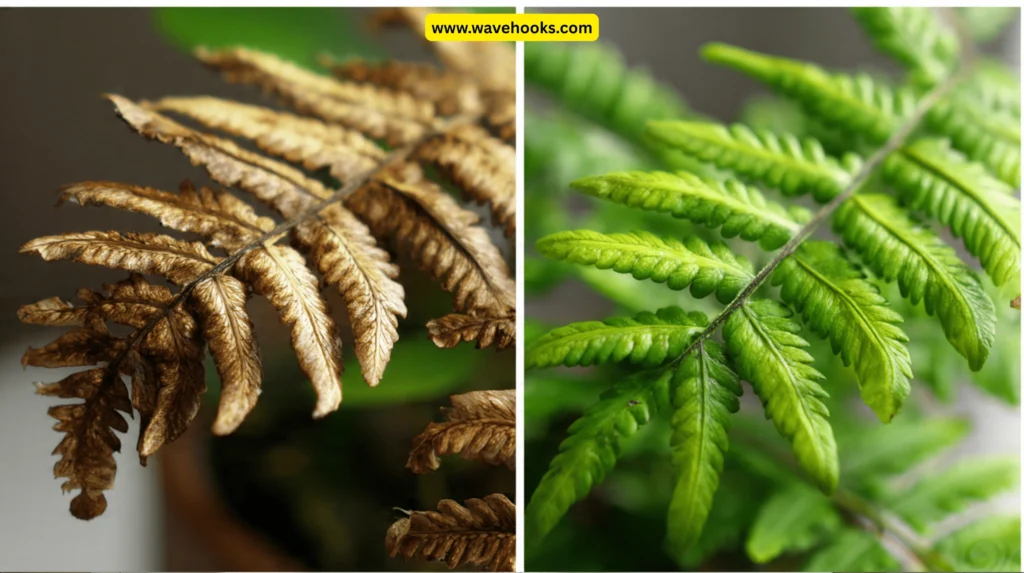
A single freezing night can cause irreversible damage, leading to brown, brittle fronds and a rotting crown.
Studies show that even short exposure to temperatures below 41°F can harm them. That’s where overwintering steps in.
When you learn how to overwinter Boston ferns indoors, you’re giving your plant a second life.
Suggested Read: 15 Stunning Big Indoor Plants That Don’t Need Sunlight!
Signs Your Boston Fern Needs Overwintering
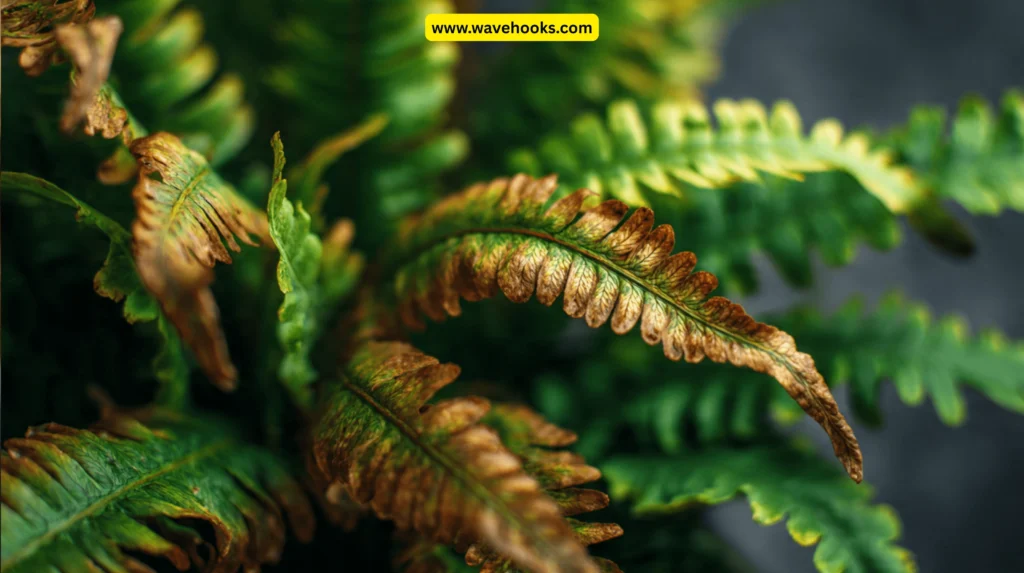
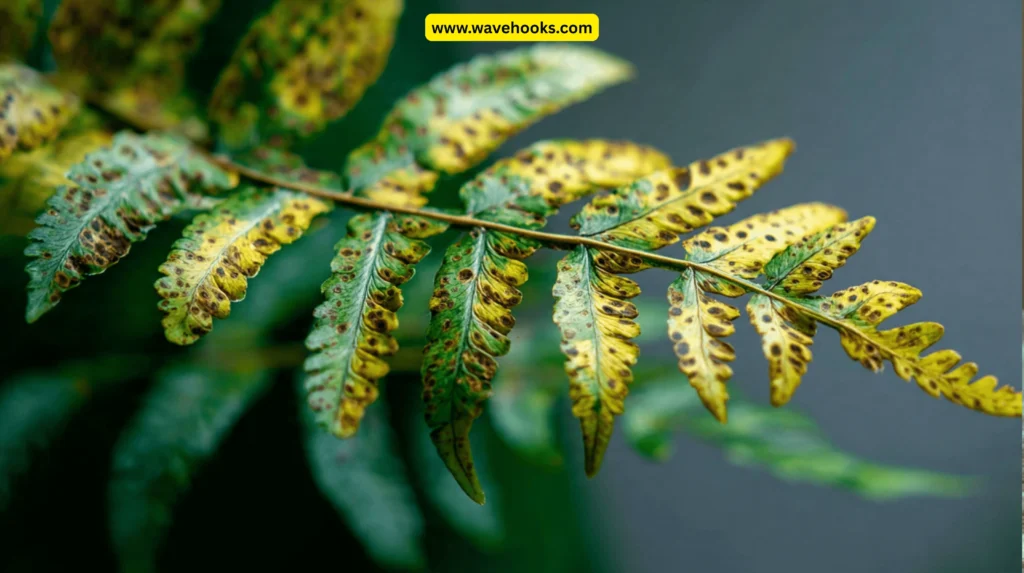
Boston ferns speak through their fronds. You just have to learn the language. If you notice these signs, it’s time to prepare for the move indoors
- If outdoor temperatures have dipped below 55 °F (13 °C) and are trending downward. That’s your signal, it’s time to get indoors.
- Fronds begin to show brown tips, curling edges, or droopiness even though you’re watering. This usually signals low humidity or cold stress.
- Your fern is in a large pot outdoors. Remember, containers lose heat faster, so they experience colder root zones than plants in the ground.
- You notice pests, dry wind, or exposure to frost to bring it in before damage is irreversible.
If you spot these early warnings, act quickly. Bringing it in before the first frost is like rescuing a friend before a storm hits.
Suggested Read: 30 Best Plants To Keep In A Bathroom Without A Window Care!
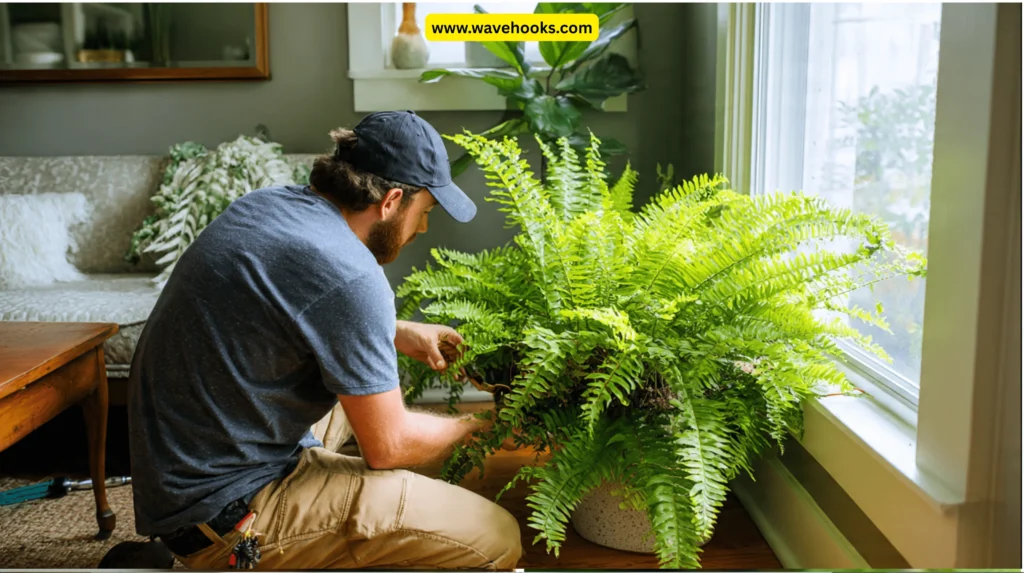
How to Prepare Your Boston Fern for Indoor Transition
If you’ve decided to move your fern indoors, here’s how to execute step-by-step so you don’t shock it.
1. Clean and inspect:
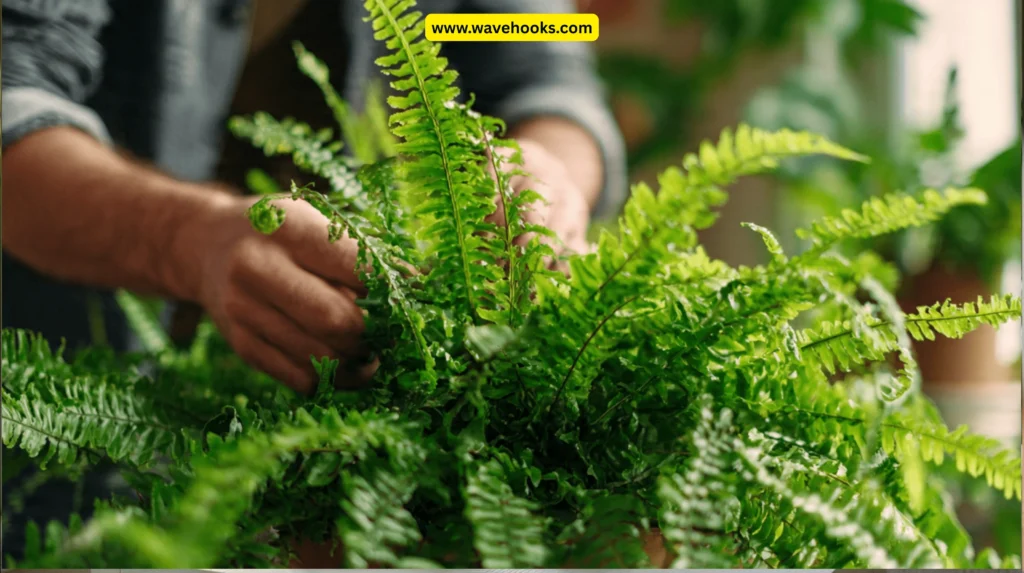
Take your fern outside on a mild day and rinse it gently with a hose or shower, thoroughly, including the underside of fronds. This removes insects, dust, and debris. Inspect for pests like mealybugs, scale, or spider mites, even if outside. So you don’t bring unwanted hitchhikers indoors.
2 Trim and tidy
Remove brown, dead, or overly straggly fronds. Keeps the plant focused on healthy growth and reduces energy wasted. If the fern is overlarge for your indoor space, consider gently trimming to shape, but don’t remove more than one-third of the overall fronds to avoid stress.
3. Repot and refresh
If the roots are cramped or the soil feels soggy, repot into a slightly larger container with fresh peat-based mix. Choose one with good drainage holes so you never want soggy feet during winter. The Boston fern likes evenly moist but not saturated soil.
4. Acclimate
Don’t just pluck it indoors and leave it in direct heat. Instead, bring it inside for a few hours each day for 2-3 days. This gradual shift helps avoid shock. While changing location, adjust watering indoors because the plant’s growth slows and the soil doesn’t dry as fast. Remember, how to overwinter Boston ferns indoors isn’t about one big move, but it’s a gentle transition
By doing these steps, you ensure the move indoors is smooth and your fern tolerates the shift with minimal stress.
Suggested Read: 20 Easy Plants For Apartment Balcony You’ll Actually Love!
Choosing the Right Indoor Location for Your Fern
Now, location is everything. It plays a major role. The perfect spot can make or break your overwintering success.
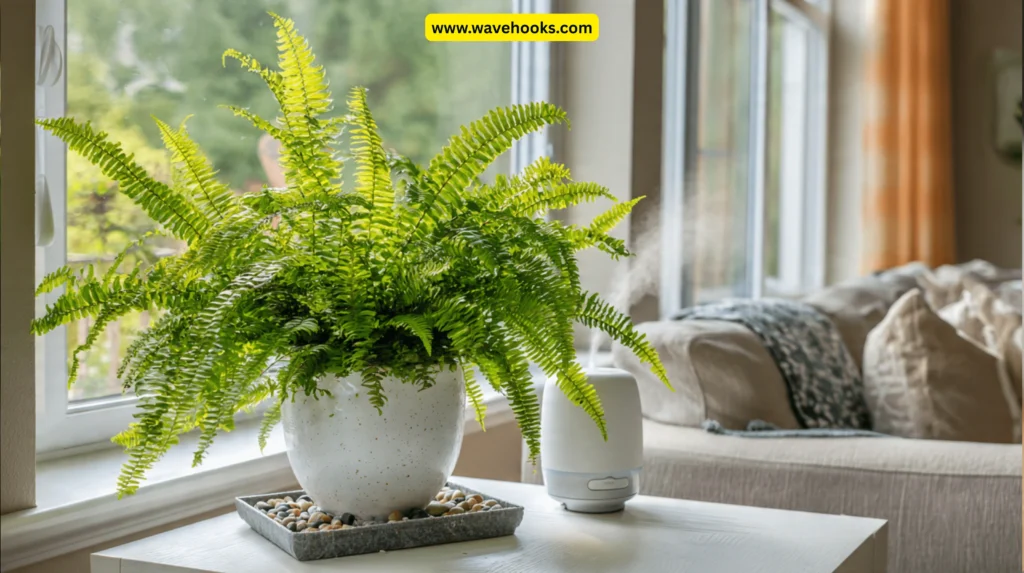
1. Light: Boston ferns love bright, indirect light. An east or north-facing window is ideal. Direct sun will burn the delicate fronds while dark corners will leave them pale and sad.. Avoid southern windows with harsh direct rays unless you provide sheer curtains or move far enough from the pane.
2. Temperature & drafts: Keep daytime temps around 60-75 °F (15-24 °C) and nights can be a bit cooler, but not below 55 °F (13 °C). Avoid placing the fern near drafty doors, cold windows, heating vents, radiators anything that causes sudden temperature swings.
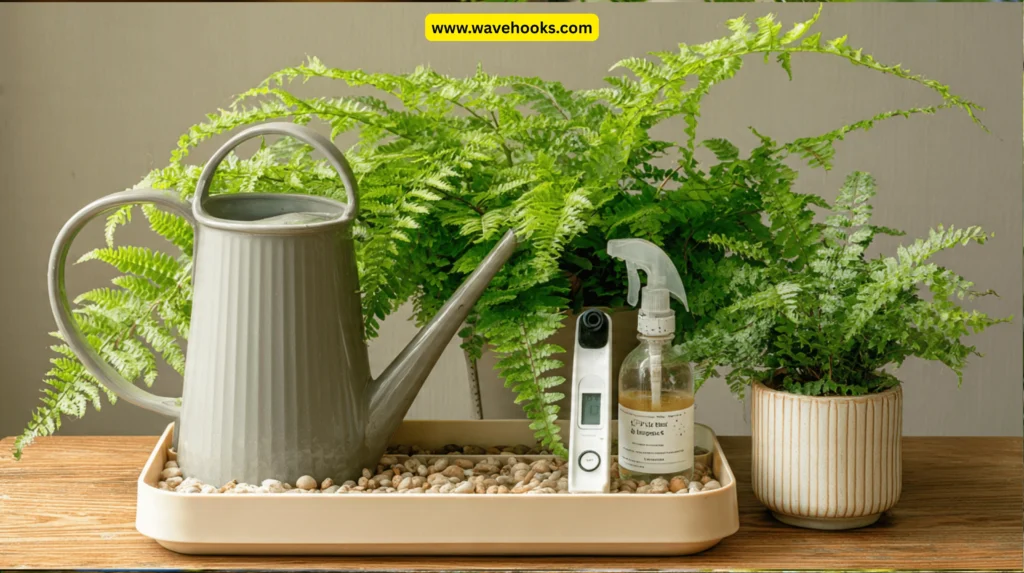
3. Humidity: This is where most people slip up. Indoor winter air can drop below 30% humidity. Your fern wants 50–80%. Without it, fronds crisp, curl, and shed. Create humidity by placing the pot on a pebble tray filled with water, ensuring the pot base doesn’t sit directly in water. grouping plants using a humidifier, and frequent misting of fronds
4. Air circulation: Good airflow is important, but avoid cold drafts or very dry forced-air blowing directly onto the fern. Rotate the pot gently every few weeks so the fronds grow evenly.
By choosing the right location and conditions, you’ll satisfy your fern’s indoor winter needs and set the stage for robust growth.
Suggested Read: Do You Need Nutrients After Repotting A Indoor Plants? 10 Facts!
Common Problems to Watch For During Overwintering
Overwintering indoors reduces cold risk but can introduce other hazards. Here’s what to watch and how to handle them:
1. Pests
Watch for mealybugs, scale insects, spider mites, and whiteflies. These insects love indoor plants in closed settings. Early signs you need to observe are tiny white cottony clusters, sticky residue, and yellowing fronds. If you notice any one immediately rinse the plant, use insecticidal soap or neem oil if needed, isolate infected plants so they don’t spread.
2. Diseases & fungal issues
Over-watering with poor drainage leads to rotting of the roots, turning fronds grey, and mushy roots. If you see powdery mildew, like a white web-like coating or dark lesions on fronds. Improve drainage, reduce watering, increase airflow, and use sterile potting mix when repotting.
3. Humidity-related problems
Very dry indoor air triggers browning frond tips, leaf drop. If your fronds are browning at the edges, your air is too dry. This is due to we usually see it in winter with heating systems are running. Raise humidity, move away from the heat source, and use a pebble tray or humidifier.
4. Temperature stress
If indoor night temperatures fall too low, below 55 °F or 13 °C, or sudden cold drafts hit, the fern may drop fronds and look lifeless. If leaves drop suddenly, check for cold drafts or unheated rooms. Move to a more stable spot, avoid windowsills without insulation or unheated rooms.
By keeping an eye on these issues, you’ll maintain your fern’s health and avoid dreaded winter-kill scenarios.
Suggested Read: Do House Plants Attract Bugs? The Surprising Truth Revealed!
Pruning and Maintenance Tips During Overwintering
Good maintenance during winter isn’t the same as during summer growth. Your goal here is steady survival and setup for next season.
Here are some tips you can follow during overwintering:
1. Prune lightly: Remove only the dead or brown fronds now. Let healthy ones remain. Heavy pruning is best only in spring. Avoid heavy trimming indoors unless extremely necessary, like space constraints.
2. Water Wisely: Indoors, the soil will dry more slowly. Water when the top inch of soil feels dry, usually every 1–2 weeks, depending on your home climate. Avoid soggy soil. The roots must breathe. The plant is less active in winter. If the fern is kept in a more dormant, cooler, low-light spot, reduce watering even more.
3. No need for Fertilizing: Stop or reduce fertilizing indoors during winter. The fern is not actively growing, so excess nutrients can burn roots. Resume light feeding once you return it outdoors and new growth begins.
4. Maintain Humidity: Mist fronds 2-3 times per week or keep a humidifier nearby. Place the pot on a tray of pebbles filled with water for stagnant humidity. Move away from heat vents and direct drafts. Hot air dries out the fronds fast.
5. Monitor growth: Some leaf drop or slowed growth is perfectly normal in winter, especially if you’re letting it rest. Don’t panic. Keep an eye on new frond tips curling is a healthy sign, or excessive yellowing a warning sign.
By following these maintenance steps, you’ll keep your fern comfortable, stable, and ready to explode into lush growth come spring.
Suggested Read: Why Is My Snake Plant Drooping? Don’t Ignore These Red Flags!
Troubleshooting Common Problems
Here are some real-world problems you may experience and simple fixes you can apply immediately.
1. Problem: Fronds turning brown or crispy
Likely causes: low humidity, too much light, direct sun, too far from water.
Fix: Move to a more shaded spot, increase humidity with a pebble tray or humidifier, and check watering schedule.
2. Problem: Sparse, leggy growth, pale fronds
Cause: insufficient light or nutrients, though you’re not fertilizing much.
Fix: Move closer to indirect light, maybe use a grow light to supplement. Resume mild feeding in spring.
3. Problem: Lots of leaf-drop, fronds falling off
Cause: sudden cold draft, temperature fluctuation, or pest invasion.
Fix: Relocate away from drafty windows and doors, inspect for pests, and clean and rinse the plant thoroughly.
4. Problem: Root rot, wet soil, mushy roots
Cause: Over-watering or poor drainage indoors.
Fix: Remove plant, let it dry, repot in fresh, well-draining mix, reduce watering frequency.
5. Problem: Pests
Cause: insects tied in from summer or arrived through other means.
Fix: Rinse plant, isolate it, treat with insecticidal soap or neem oil, and keep humidity moderate.
By recognizing issues early and applying these fixes, you’ll keep your fern vibrant rather than struggling.
Remember, troubleshooting is part of the process. Each issue teaches you more about your fern’s personality and brings you closer to pest control.
When and How to Move Your Fern Back Outdoors

Spring’s first warm breeze will tempt you to move your fern outside, but patience is key.
1. When to move it
Wait until after the last expected frost in your region, which might be March or April or later, depending on zone. Outdoor temperatures should be consistently above 60 °F (16 °C) during the day and not dip at night.
2. How to acclimate your fern
Adapt it gradually first, place it outside in a shaded spot for a few hours a day for 1-2 weeks. This helps the plant adjust from indoor light and humidity conditions to outdoor ones. After that, choose a location outdoors like spotted shade, protected from strong afternoon sun, ideally with consistent humidity and a gentle breeze.
3. Post-move care
Replace regular outdoor watering pots outdoors to dry faster. Start by light fertilization once you see new growth. Usually, it takes a month during active growth periods. Watch for pests moving outdoors exposes the fern to new risks. Remove any fronds damaged during the indoor phase, like brown tips, drooping. So energy goes to new, healthy growth.
When done carefully, your Boston fern will give you lush green fronds, droop gracefully, and bloom.
Suggested Read: Indoor Evergreen House Plants: 30 Stunning Picks You’ll Love!
Tips for Long-Term Care and Growth
To make your fern a forever friend, adopt these habits:
1. Regular repotting: Every 2–3 years or when the roots are packed, divide your fern in spring and repot in fresh potting mix. This keeps it active.
2 Maintain humidity year-round: Even during summer, pot location matters. Keep the humidity strategy you used during winter and adapt it.
3 Use the right soil mix: A peat or vermiculite mix works well. It helps for good organic matter, fast drainage, and moisture retention.
4 Avoid common placement: According to recent advice, avoid putting Boston ferns in direct sun, in dark corners, near AC or heating vents, and hanging so high. Place them mid-level shelf height, in an east window, or on a plant stand with a pebble tray.
5 Monitor for gradual growth: As spring arrives and you move your fern outside, watch for new fronds emerging. If you see healthy, upright, unfurling fronds, you’re winning.
Wipe leaves monthly to remove dust and keep photosynthesis strong.
If after a few weeks, you see no growth, consider light fertilizing, check the pot size, and inspect root health.
By implementing these long-term care tips, you’ll transform your fern from seasonal rescue to yearly centerpiece.
Suggested Read: 40+ Rare Types Of Snake Plants That Wow Instantly!
Conclusion: how to overwinter boston ferns indoors
You started this guide by thinking about how to overwinter Boston ferns indoors, and now you’ve mastered every stage.
You’ve learned to read your fern’s signals, maintain perfect humidity, and create an indoor paradise that rivals its natural habitat.
So, grab your spray bottle, clear that sunny windowsill, and start preparing your fern today. Don’t let winter win.
FAQ’s: how to overwinter boston ferns indoors
1. When To Bring A Boston Fern Indoors For Overwintering In Colder Climates?
You should bring your fern indoors when outdoor temperatures begin to drop below about 55 °F (13 °C) or when frost is expected. Waiting too long risks frost damage to the fronds and roots.
2. How To Increase Humidity When Overwintering A Boston Fern Indoors In A Dry Home?
Use a pebble tray filled with water under the pot, but do not let the pot sit in water. Mist the fronds regularly, group plants together, or use a room humidifier. Aim for humidity above 50%.
3. What’s The Best Indoor Location For A Boston Fern During Winter?
Choose a bright, indirect light spot like an east or north window, avoid direct sunlight, keep it away from heating vents or radiators, maintain stable temps (60-75 °F), and protect from drafts.
4. How Often Should I Water My Boston Fern While Overwintering Indoors?
Since growth slows in winter, water when the top inch of soil is dry, typically every 1-2 weeks, but always check the soil moisture rather than a fixed schedule. Avoid letting the soil become soggy.
5. When I Bring My Boston Fern Back Outside After Winter, How Should I Do It?
Wait until after the final frost, outdoor temperatures are stable (above 60 °F), then adjust the plant gradually. Start by placing it outdoors in a shaded location for a few hours daily, increasing time over 1-2 weeks.
Suggested Read: Do House Plants Attract Bugs? The Surprising Truth Revealed!