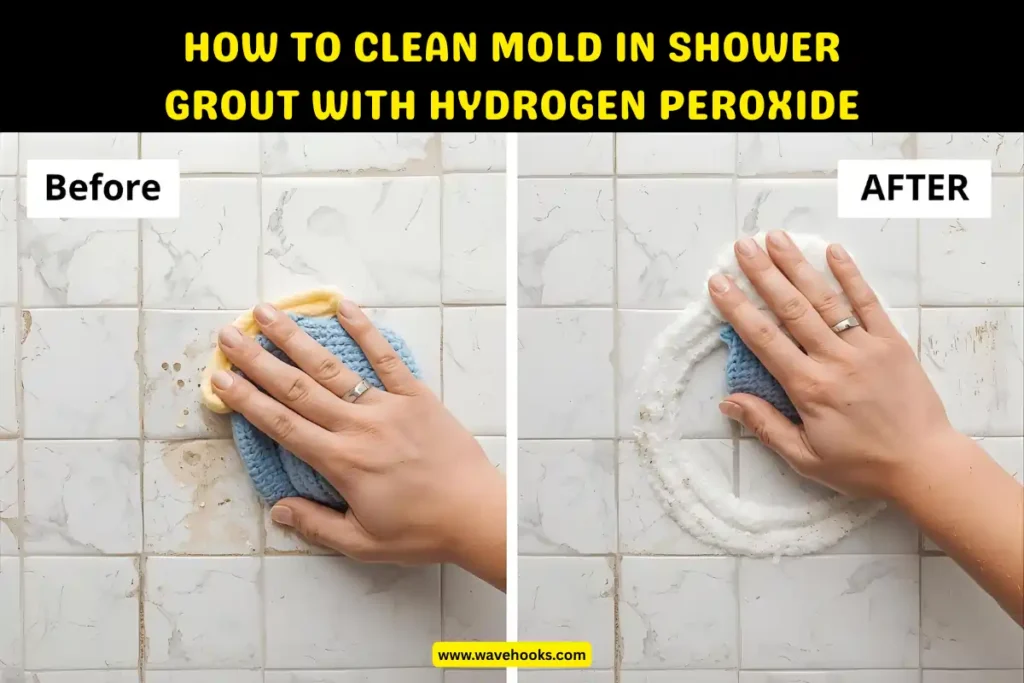
How to clean mold in shower grout with hydrogen peroxide is something I never thought I’d Google. If you are the one, you are in the right place!
One morning, while rushing for work, I spotted ugly black streaks crawling across the grout lines in my shower.
I tried scrubbing with soap, even homemade vinegar, but the mold just laughed back at me.
It smelled damp, looked embarrassing, and honestly made the bathroom feel dirty.
A friend suggested hydrogen peroxide, and after some research, I was surprised to find that it not only cleaned but also made the grout look fresh again.
In this guide, I’ll share exactly how it worked for me and walk you through the step-by-step process. Let’s get started!
How to Clean Mold in Shower Grout with Hydrogen Peroxide & Understand the Problem

How to clean mold in shower grout with hydrogen peroxide is not just wiping the stains. It’s all about understanding why mold keeps showing up.
If you understand the problem, you can fix it without that; you’ll clean today and see it again tomorrow.
Why Mold Keeps Appearing in Shower Grout
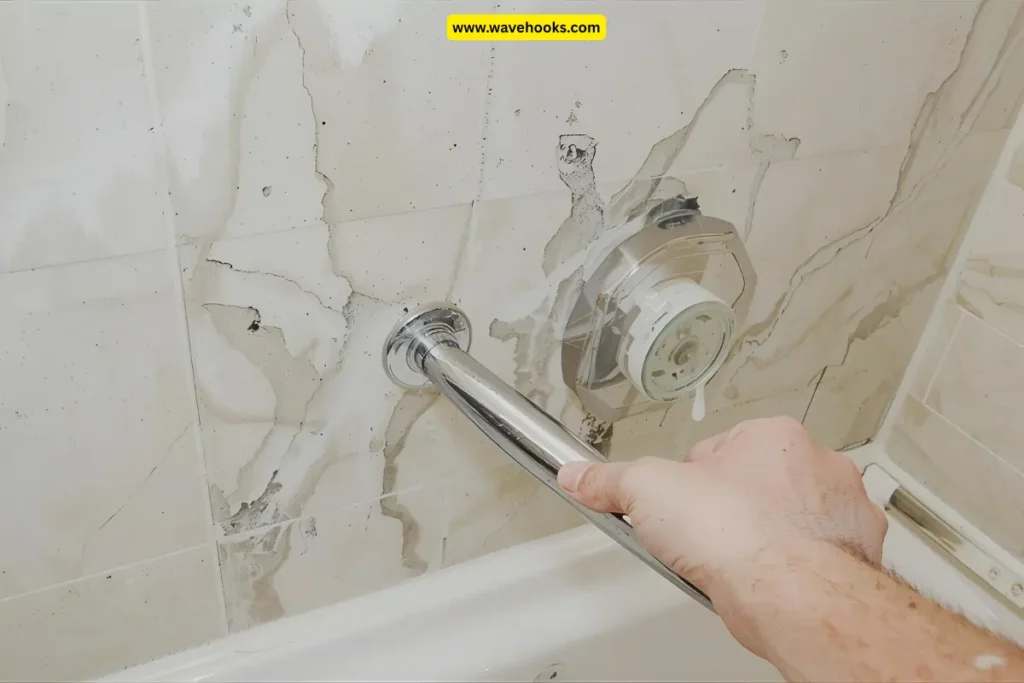
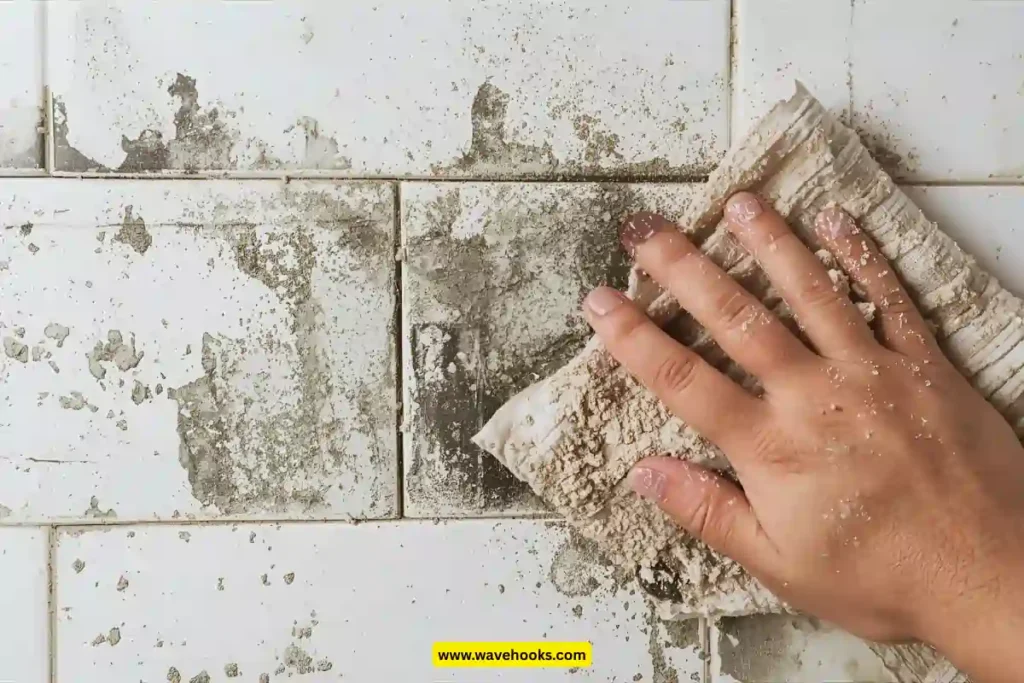
Mold isn’t unexpected. It shows up because your shower gives it the perfect home. When you take a hot shower, steam fills the air and settles into the tiny pores of grout.
Unlike tiles, grout is rough and absorbs water easily. That dampness, mixed with soap residue, creates food for mold to grow.
According to the EPA, mold can start developing within 24–48 hours of moisture exposure. This is why it often returns even after you scrub it once.
Unless the grout dries completely or the moisture source is controlled, mold will keep sneaking back, no matter how much you clean.
Suggested Read: What Is The Best Homemade Shower Cleaner Recipe? Must Read!
The Hidden Risks of Mold in Bathrooms
At first, mold just looks like a stain, but it’s more than that. According to the CDC, mold exposure can trigger breathing issues, allergies, asthma, and coughing fits.
Even if you’re healthy, it can irritate your skin and eyes. In the long run, it can damage grout by eating, making it weak and crumbly, which results in costly repairs.
I once ignored a small patch in my shower, and months later, the grout started cracking. So the risk isn’t only about your health, but also your wallet.
How to Spot Mold in Grout Before It Spreads
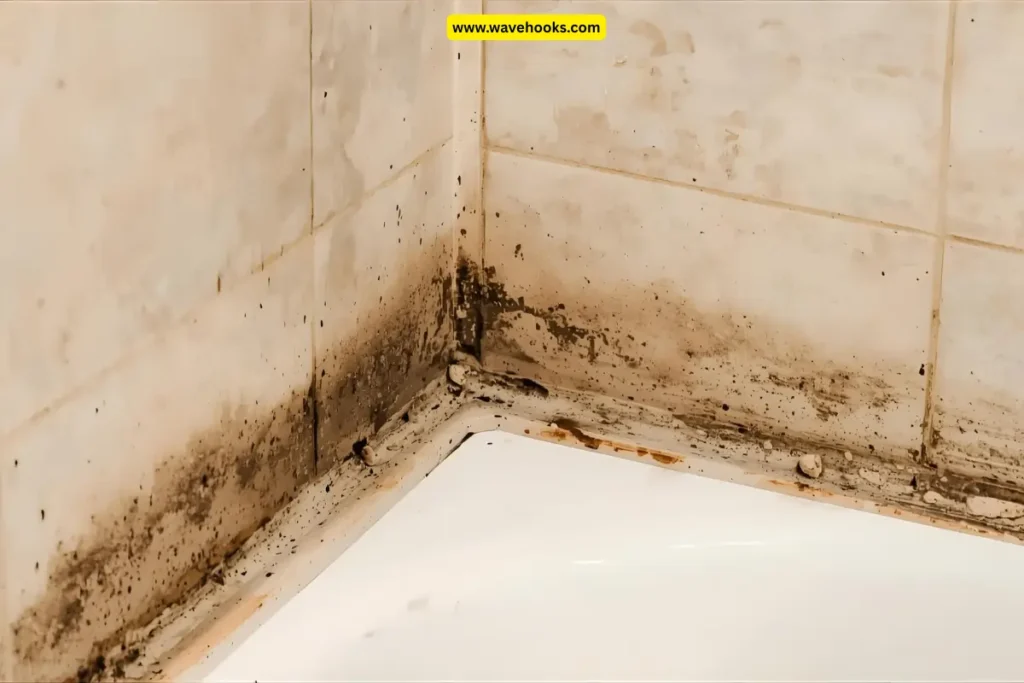
The earlier you catch mold, the easier it is to stop. It usually begins as faint black or gray streaks in corners or between tiles.
Sometimes the smell shows up before the stain. Discoloration that keeps returning after a scrub is another giveaway.
Here are the early warning signs:
- Thin dark streaks along grout lines.
- A musty or damp smell after showers.
- Grout that looks darker even when freshly cleaned.
- Slimy spots forming in corners or edges.
- Patches that spread quickly after every shower.
If you spot it early, you’ll spend minutes cleaning instead of hours fighting a bigger spread.
Suggested Read: How To Get Mold Out Of Clothes: 6 Amazing Solutions To Try!
How to Clean Mold in Shower Grout with Hydrogen Peroxide and Why It Works
Hydrogen peroxide is a powerful and safe way to clean mold in shower grout. In this section, we’ll see why it works, how it affects grout, and how quickly it kills mold.
Why Hydrogen Peroxide is Safe and Effective for Mold
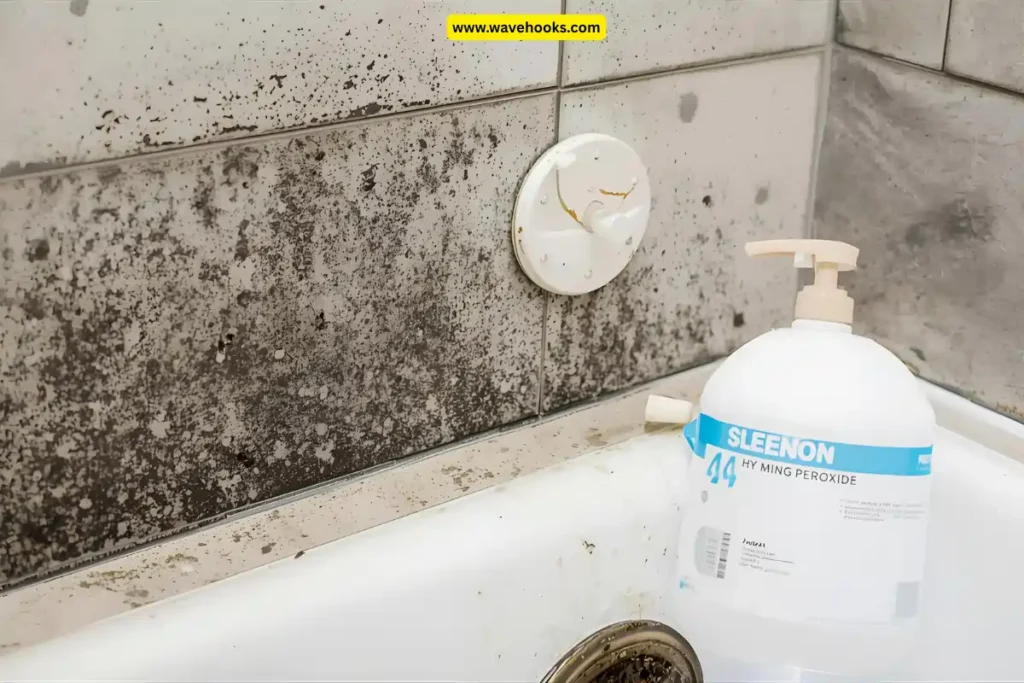
Hydrogen peroxide looks like plain water, but the bubbling action you see is oxygen breaking down mold and bacteria.
A 3% solution has been shown in studies to kill mold on non-porous surfaces. The best part? It doesn’t leave behind dangerous chemicals, just water and oxygen.
Here’s why it works so well in bathrooms:
- It soaks into grout pores, reaching mold under the surface.
- It destroys mold completely, not just lightens the stain like bleach.
- It’s safe to use in small spaces without filling the room with toxic fumes.
Suggested Read: How To Clean A Shower Head: 5 Easy Steps For Sparkling Results!
Does Hydrogen Peroxide Damage Grout Over Time?
Many people worry that strong cleaners will eat grout. For example, bleach can wear it down and cause discoloration.
Hydrogen peroxide is much gentler. As long as you’re not using it every single day, it won’t harm sealed or unsealed grout.
A few things to remember:
- Stick to weekly or occasional use instead of daily.
- Always rinse the grout well after cleaning.
- If your grout is sealed, hydrogen peroxide is safer since it can’t seep too deep.
This balance of power and safety is why many cleaning experts prefer it over bleach.
Suggested Read: How Long Should I Soak My Toothbrush In Hydrogen Peroxide?
How Long Does It Take for Hydrogen Peroxide to Kill Mold?
Hydrogen peroxide isn’t magic, even though it needs a little time to do its job. If you spray and wipe right away, you’ll only clean the surface.
To kill mold fully, let it sit for some time. Light stains usually fade in 5–10 minutes. Tougher spots may need 15–20 minutes.
Very stubborn mold stains need a second or third round. The fizzing action tells you it’s breaking down the mold. Once the bubbling slows down, you can scrub and rinse.
How to Clean Mold in Shower Grout with Hydrogen Peroxide by Preparing the Area
How to clean mold in shower grout with hydrogen peroxide really starts before you touch the grout.
If you skip preparation, scrubbing becomes harder, and the mold can linger longer than expected.
Tools and Supplies You’ll Need Before Starting
Setting up your cleaning kit will help you avoid stopping in the middle searching for supplies. For cleaning, you’ll need this:
- 3% hydrogen peroxide in a spray bottle to attack mold spores.
- Baking soda is optional for extra scrubbing power.
- A toothbrush or small grout brush for tight lines.
- Rubber gloves to protect your hands.
- Goggles or protective eyewear to avoid splashes.
- Old towels or paper towels for wiping.
- Spray bottle with water to rinse after cleaning.
Having these ready makes the process smooth. I remember the first time I cleaned mold without prepping it took double the time and left streaks everywhere.
Suggested Read: How To Clean A Shower Drain :20 Inspiring Tricks In 2025!
How to Prepare Your Shower for Easy Cleaning
Start by clearing everything out, like bottles, soap bars, mats, and even your loofah.
Wipe off loose dirt and soap scum so the hydrogen peroxide can reach the grout directly.
Open a window or turn on the fan to reduce steam and moisture. Lightly dry the grout with a towel. Slightly damp grout, this works best for hydrogen peroxide.
If you have a shower curtain, pull it back or remove it temporarily. Doing these simple preparation steps makes scrubbing almost effortless.
Suggested Read: Does Rubbing Alcohol Kill Mold? The Real Truth Revealed!
Safety Precautions When Using Hydrogen Peroxide
Hydrogen peroxide is much safer than bleach, but safety still matters. Wear gloves to protect your hands and goggles for your eyes.
Never mix hydrogen peroxide with other cleaners it can create dangerous fumes.
Make sure your bathroom is well-ventilated, rinse surfaces thoroughly after cleaning, and wash your hands properly.
Following these steps keeps the cleaning safe while letting the hydrogen peroxide do its job.
How to Clean Mold in Shower Grout with Hydrogen Peroxide Step by Step
How to clean mold in shower grout with hydrogen peroxide is simpler than you might think. It is a very effective, safe method that won’t damage grout if used properly.
Here is the simple step-by-step guide to cleaning the mold:
Step 1: Gather Your Supplies
Before starting, make sure everything is ready, like a spray bottle, baking soda if mold is stubborn, a tooth brush, gloves, and a cloth or tissues..
Arranging all these supplies will make the cleaning process faster. Studies show that with proper preparation, cleaning can be about 30–35% quicker and less stressful.
Step 2: Prepare the Shower
Remove bottles, mats, soap dishes, and loofahs. Wipe away loose dirt and soap scum first. Do you know that around 70% of surface grime can block cleaning solutions?
Open a window or turn on the exhaust fan. Mold will be more prevalent in humidity above 50%, so ventilation is essential.
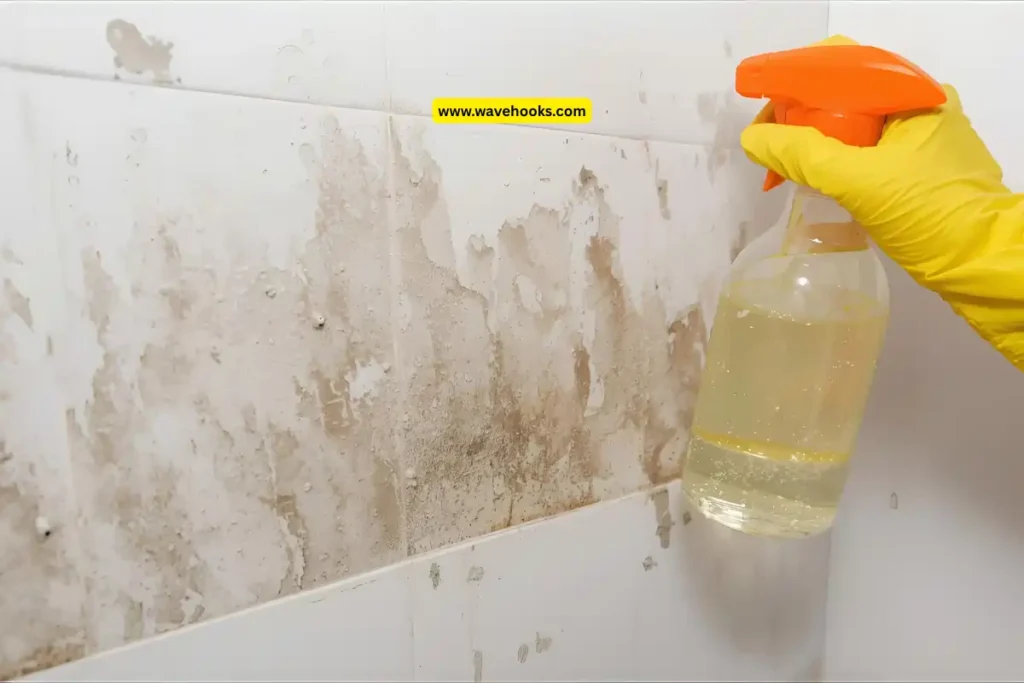
Step 3: Apply Hydrogen Peroxide
Spray hydrogen peroxide directly on moldy grout. Let it sit for some time, depending on the stains. This can kill up to 90% of surface mold.
Scrub gently with a brush, then rinse with warm water. For stubborn spots, repeat the process. This can remove up to 95% of mold without harming grout.
Step 4: Prepare Baking Soda Paste For Tough Stains
For deep stains, take 2 parts of baking soda with 1 part of hydrogen peroxide and mix it well to make a paste. Apply it to the grout and leave it for 15–20 minutes.
Scrub gently and rinse. Baking soda increases cleaning efficiency by 30–40% and reduces the chances of mold regrowth.
Step 5: Clean Surrounding Tiles
Mold can relocate 2–3 inches from grout onto tiles, so spray hydrogen peroxide lightly on tiles around the grout.
Wipe with a cloth or use a small brush for corners. This ensures the mold doesn’t spread back to clean grout.
Step 6: Dry and Ventilate
After cleaning, dry the grout and tiles thoroughly. Keep the bathroom ventilated for at least 30 minutes.
Maintaining humidity below 50% reduces mold growth by 60%.
Step 7: Maintain Clean Grout
To prevent mold from returning, follow these tips:
- Wipe down tiles and grout weekly after showers.
- Use a squeegee to remove excess water.
- Ensure bathroom ventilation is on during and after showers.
- Spot-clean with hydrogen peroxide monthly if needed.
- Regular maintenance keeps your grout mold-free.
Following these steps helps to make your shower grout clean, safe, and free from mold.
Suggested Read: How To Clean A Walk In Shower: Keep It Fresh And Inviting!
How to Clean Mold in Shower Grout with Hydrogen Peroxide Without Scrubbing
Nobody wants to spend hours scrubbing their shower tiles. The good news is that you can clean mold in shower grout with hydrogen peroxide without scrubbing.
Instead of fighting with a stiff brush, let peroxide do the heavy lifting while you relax.
Scrub-Free Methods That Let Peroxide Do the Work
Here are some scrub-free methods:
1. Simple Spray Method
Just spray 3% hydrogen peroxide directly on the grout and leave it for 20–30 minutes. The fizzing action naturally lifts mold, so when you rinse it off, most of the black stains disappear.
2. Baking Soda & Peroxide Paste
Mix baking soda with hydrogen peroxide into a thick paste, spread it over the grout, and leave it overnight. By morning, the mold loosens up and rinses away without scrubbing.
3. Foaming Cleaner Trick
Use a foaming peroxide cleaner so it clings to vertical grout lines longer. This makes peroxide work more effectively on mold hiding in corners.
4. Steam and Peroxide Boost
Run hot water to steam up your bathroom, then spray peroxide on the grout. The steam opens the grout’s pores, allowing peroxide to penetrate deeper and kill mold at its roots.
Suggested Read: How to Fix Hard Water in Shower: 15 Techniques You All Love!
The Easiest Way to Clean Grout Without Scrubbing
Nobody enjoys scrubbing bathroom grout. It’s time-consuming, your arms get tired, and sometimes the mold still clings on.
Here are three proven, scrub-free methods that make grout cleaning easier:
1. Hydrogen Peroxide Soak with Cotton Strips
Instead of scrubbing, try letting peroxide sit on the grout. Soak a few cotton balls or strips in hydrogen peroxide and place them directly on the moldy lines.
Leave them for an hour. Remove the cotton and rinse the grout with warm water. You’ll notice the black spots are lighter or completely gone without lifting a brush.
2. Peroxide & Plastic Wrap Seal
This trick feels almost too easy, but it works wonders. Spray hydrogen peroxide onto the grout, then cover the area with plastic wrap.
Sealing helps to stop the liquid from drying quickly and gives it more time to break down stubborn mold. After an hour or two, peel back the wrap, rinse the area.
3. Hydrogen Peroxide and Dish Soap Spray
Mix equal parts hydrogen peroxide and dish soap in a spray bottle, shake well, and spray it all over your grout. Let it sit for about 30–40 minutes.
The soap helps loosen grime while the peroxide tackles mold. Rinse with warm water, and your grout looks brighter with no effort.
Why this works: Instead of wasting energy scrubbing, you’re letting peroxide stay in contact with mold long enough to dissolve it. It’s like giving your grout a deep soak instead of a surface wipe.
Suggested Read: How To Prevent Orange Stains In Shower: 15 Professional Tips
How to Clean Mold in Shower Grout with Hydrogen Peroxide Compared to Other Cleaners
Most of us have been there in confusion: Should I grab bleach, vinegar, a store-bought tile cleaner, or stick with hydrogen peroxide?
Each option has pros and cons, but when it comes to bathroom grout, some work better than others.
Hydrogen Peroxide vs. Bleach and Vinegar for Mold
Here you can check the comparison:
1. Bleach
Bleach is the first thing people reach for because it works fast and whitens instantly. The problem? It mostly stays on the surface.
The CDC says that bleach is for non-porous materials like tiles, but grout is porous. Mold can settle deep inside, and bleach doesn’t reach those hidden spores.
That’s why you might clean today, but in a week, the black stains creep back.
2. Vinegar
Vinegar is safer and definitely better for day-to-day cleaning. In fact, studies show it can kill around 80% of mold species.
Still, when you’re dealing with black mold in shower grout, vinegar isn’t strong enough to stop mold from spreading.
3. Hydrogen Peroxide
Hydrogen peroxide, on the other hand, is powerful without being harsh. When you pour or spray it on grout, it bubbles and foams that fizzing isn’t just for show.
It’s peroxide working. It breaks down the mold and lifts stains. Unlike bleach, it doesn’t leave behind strong chemical fumes, which makes it easier to use.
Finally, vinegar works for light touch-ups, bleach whitens fast but doesn’t last, while hydrogen peroxide digs deeper and keeps mold at bay longer.
Suggested Read: Top 10 Strategies On How to Keep Shower Curtain From Molding
Baking Soda with Hydrogen Peroxide vs. Commercial Tile Cleaners
Here you can get the comparison:
1. Bleach
If you’ve ever mixed hydrogen peroxide with baking soda, you know it creates a thick paste that sticks right onto grout lines.
That texture helps scrub away stains while peroxide does the disinfecting. The combo is also odor-free, unlike commercial cleaners that often smell like chlorine pools.
2. Commercial Cleaners
Commercial products can be effective, but many contain ammonia or chlorine. These chemicals act quickly but can wear down grout seals, and the fumes can be irritating.
A Consumer Reports survey in 2018 found that about two-thirds of homeowners preferred natural cleaning methods because of safety concerns.
That’s one reason the peroxide-and-baking-soda trick is so popular, as it delivers results close to store-bought cleaners but feels safer to use regularly.
Suggested Read: Does Sunlight Kill Mold: How Well Is Sunlight Against Mold?
Natural Alternatives to Hydrogen Peroxide
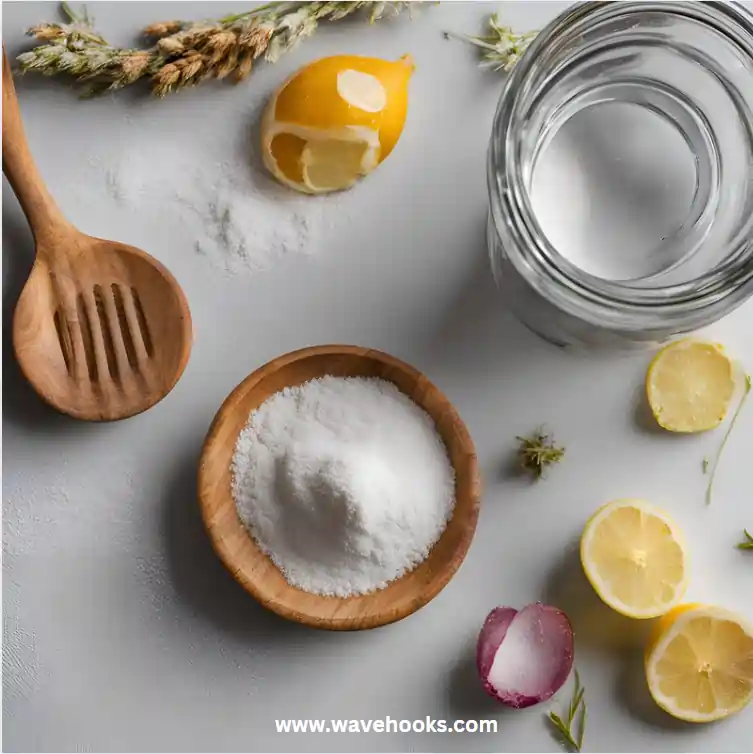
Not everyone keeps hydrogen peroxide in their bathroom cabinet, so what else can you use? Here you can check:
- Tea tree oil spray: A few drops mixed with water creates a natural antifungal solution. It smells strong, but it’s highly effective on light mold patches.
- Lemon juice treatment: Apply fresh lemon juice directly to the grout. Let it sit for 10 minutes before scrubbing and rinsing. The natural acidity helps remove mold and leaves a fresh scent.
- Vinegar spray: Easy to use, cheap, and readily available. Works if you keep reapplying, but it’s weaker than peroxide.
These natural options can hold mold at bay, but if your shower grout is already badly stained, hydrogen peroxide is the best option.
Suggested Read: How To Make A Toilet Smell Better With 20 Easy Hacks!
How to Clean Mold in Shower Grout with Hydrogen Peroxide and Keep It From Coming Back
Killing mold is only half of the job. If you don’t fix the conditions that allowed it to grow, it will return sometimes faster than before.
Showers are naturally damp, so you’ll need both cleaning and preventive habits to stay ahead of them.
Simple Habits to Prevent Mold from Returning
Moisture is the number one reason mold thrives. That’s why small changes in your shower routine make a big difference.
After each shower, run your exhaust fan for about 20 minutes, or open a window to release trapped steam.
Wiping down tiles and grout with a squeegee sounds like a chore, but it can stop water from sitting long enough to feed mold.
According to the NIH, keeping humidity levels between 30–50% indoors can drastically reduce mold growth.
In fact, even basic steps like ventilating properly can prevent up to 70% of recurring bathroom mold problems.
Suggested Read: How To Make Your Bathroom Smell Like A Spa: 20+ ‘Scent’-Sational Ways
How to Maintain Clean and Mold-Free Grout Long Term
Once you’ve removed the mold with hydrogen peroxide, take extra care in sealing the grout.
It takes less than five minutes, but it prevents stains before they can settle. A clear waterproof sealer acts like a shield, keeping water and spores from sinking in.
Most sealers last six months to a year, depending on how your shower gets used. Another smart habit is doing a monthly spray with diluted hydrogen peroxide.
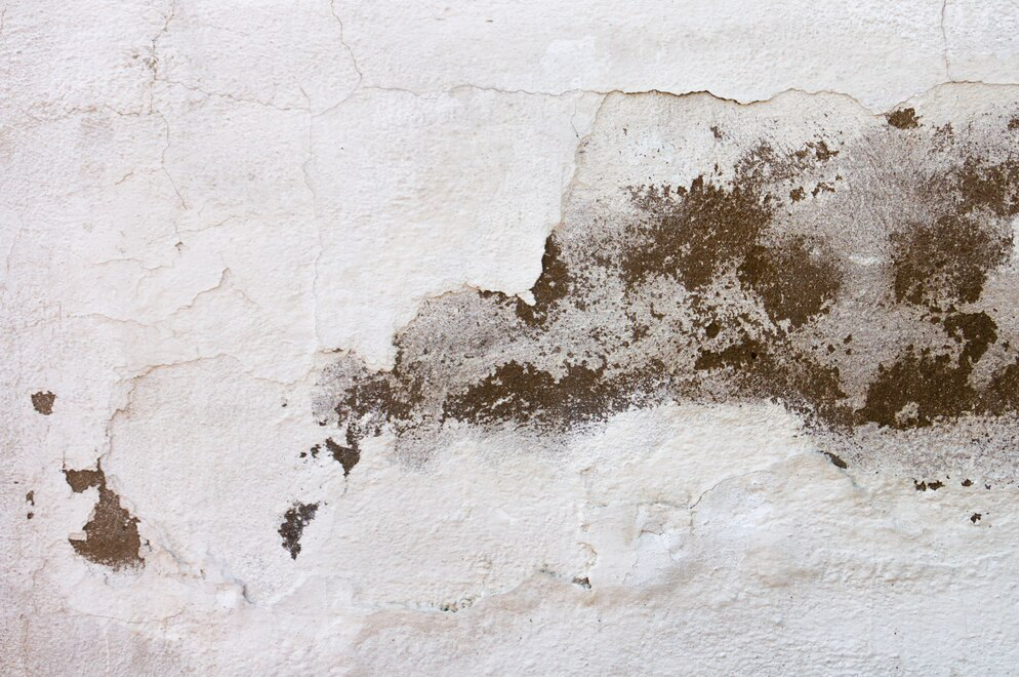
When to Call a Professional for Severe Mold
Sometimes DIY just isn’t enough. Here are some warning signs you need to take professional help:
If you see mold spreading over large areas more than about 10 square feet or if it keeps coming back within days even after cleaning, that’s a red flag.
If you sense a strong musty odor that lingers, it is another sign spores have spread beyond what you can see.
The EPA advises calling professionals to deal with larger infestations as they use industrial-strength cleaners, HEPA vacuums, and sealants.
In serious cases, they may even replace grout or sections of wall to remove the problem completely. It’s an investment, but it’s the only way to restore the affected bathroom.
Suggested Read: How To Organize Your Bathroom Like Pro In Just 10 Minutes!
FAQ’s: how to clean mold in shower grout with hydrogen peroxide
1. Can I prevent mold without using harsh chemicals?
Yes! Natural solutions like white vinegar, tea tree oil, or lemon juice can effectively kill mold. Regular cleaning and proper ventilation are key.
2. Is hydrogen peroxide safe on all types of grout?
3% hydrogen peroxide is generally safe, but test a small area first. Older or colored grout may lighten slightly.
3. Can mold return even after cleaning and sealing grout?
Yes, mold can return if humidity is not controlled properly. Maintaining ventilation, keeping humidity 30–50%, and using mold-resistant accessories minimizes mold.
4. Does hydrogen peroxide kill mold on grout?
Yes, hydrogen peroxide does kill mold on grout. Its bubbling action penetrates deep, breaking down mold at the roots instead of just bleaching the surface. It disinfects, removes stains, and leaves your shower fresh, a safe, affordable, and powerful alternative to harsh chemical cleaners.
Conclusion: How to clean mold in shower grout with hydrogen peroxide

Cleaning mold in shower grout doesn’t have to feel overwhelming.
A simple bottle of hydrogen peroxide can be your secret weapon; it kills mold, lifts stains, and leaves your bathroom looking fresh without the harsh chemicals.
I’ve tried so many cleaners, but nothing worked as effortlessly and safely as this.
Remember, “A clean home isn’t just about looks, it’s about the comfort you feel inside it.”
Suggested Reads:
How To Get Rid Of Very Tiny Bugs In Bathroom: 25 Sneaky Tips!